


I know other people have done something similar to this. If you're like me, though, you can never get enough pictures or descriptions of new techniques! I love seeing how different quilters do the same tasks because everyone does it a little differently. Or maybe it just takes reading different descriptions before you finally decide to tackle something new.
One of the skills that I had been putting off trying was making good use of my large batting scraps. I got tired of wasting so much batting and opening a new package every time I needed to baste a quilt. I had long narrow pieces that would work, if I could only magically put them together! I put off trying it because I was afraid of producing something with lumps or gaps that would be visible or obvious when feeling the quilt.
Finally I tried it and discovered that it wasn't as hard as I thought! I took pics to share with you.
First, determine the size batting you need for your project. Second, I would choose to create that size with the fewest scrap pieces as possible. That means using your larger pieces first. The super-small pieces aren't worth the trouble. Save them for use in placemats, mug rugs (or as I like to call them, Quilt Dads), or pincushions.
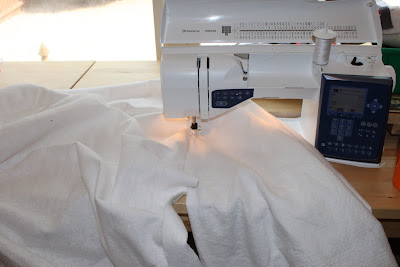 Take your two large pieces and figure out how they need to be joined to reach the necessary size batt you need. Batting has two different sides. One is nubby and the other is smoother. Make sure both scrap pieces have the same side facing up as you place them together on your machine.
This is a bulky job. And, uh, by the way, don't wear black pants. I'm just sayin'...
So now you've lined up your two scraps side-by-side (not overlapping at all) on the bed of your machine. Start about 6-8" down from the top. It's too hard to start at the top because the weight is pulling it wonky.
 Set your machine for a zig-zag stitch and needle-down position if your machine has it.


FYI - The quilt being basted in the pics is now finished and will be featured on Moda Bake Shop on May 8th. If I can use this technique on a quilt that will be shown publicly, I know you can try it on yours ;-)
Good luck and let me know how it goes!
PS - Don't forget about the Longarm Quilting discount I'm offering on quilts I receive by May 31st! For more info click on the pig.
One of the skills that I had been putting off trying was making good use of my large batting scraps. I got tired of wasting so much batting and opening a new package every time I needed to baste a quilt. I had long narrow pieces that would work, if I could only magically put them together! I put off trying it because I was afraid of producing something with lumps or gaps that would be visible or obvious when feeling the quilt.
Finally I tried it and discovered that it wasn't as hard as I thought! I took pics to share with you.
First, determine the size batting you need for your project. Second, I would choose to create that size with the fewest scrap pieces as possible. That means using your larger pieces first. The super-small pieces aren't worth the trouble. Save them for use in placemats, mug rugs (or as I like to call them, Quilt Dads), or pincushions.
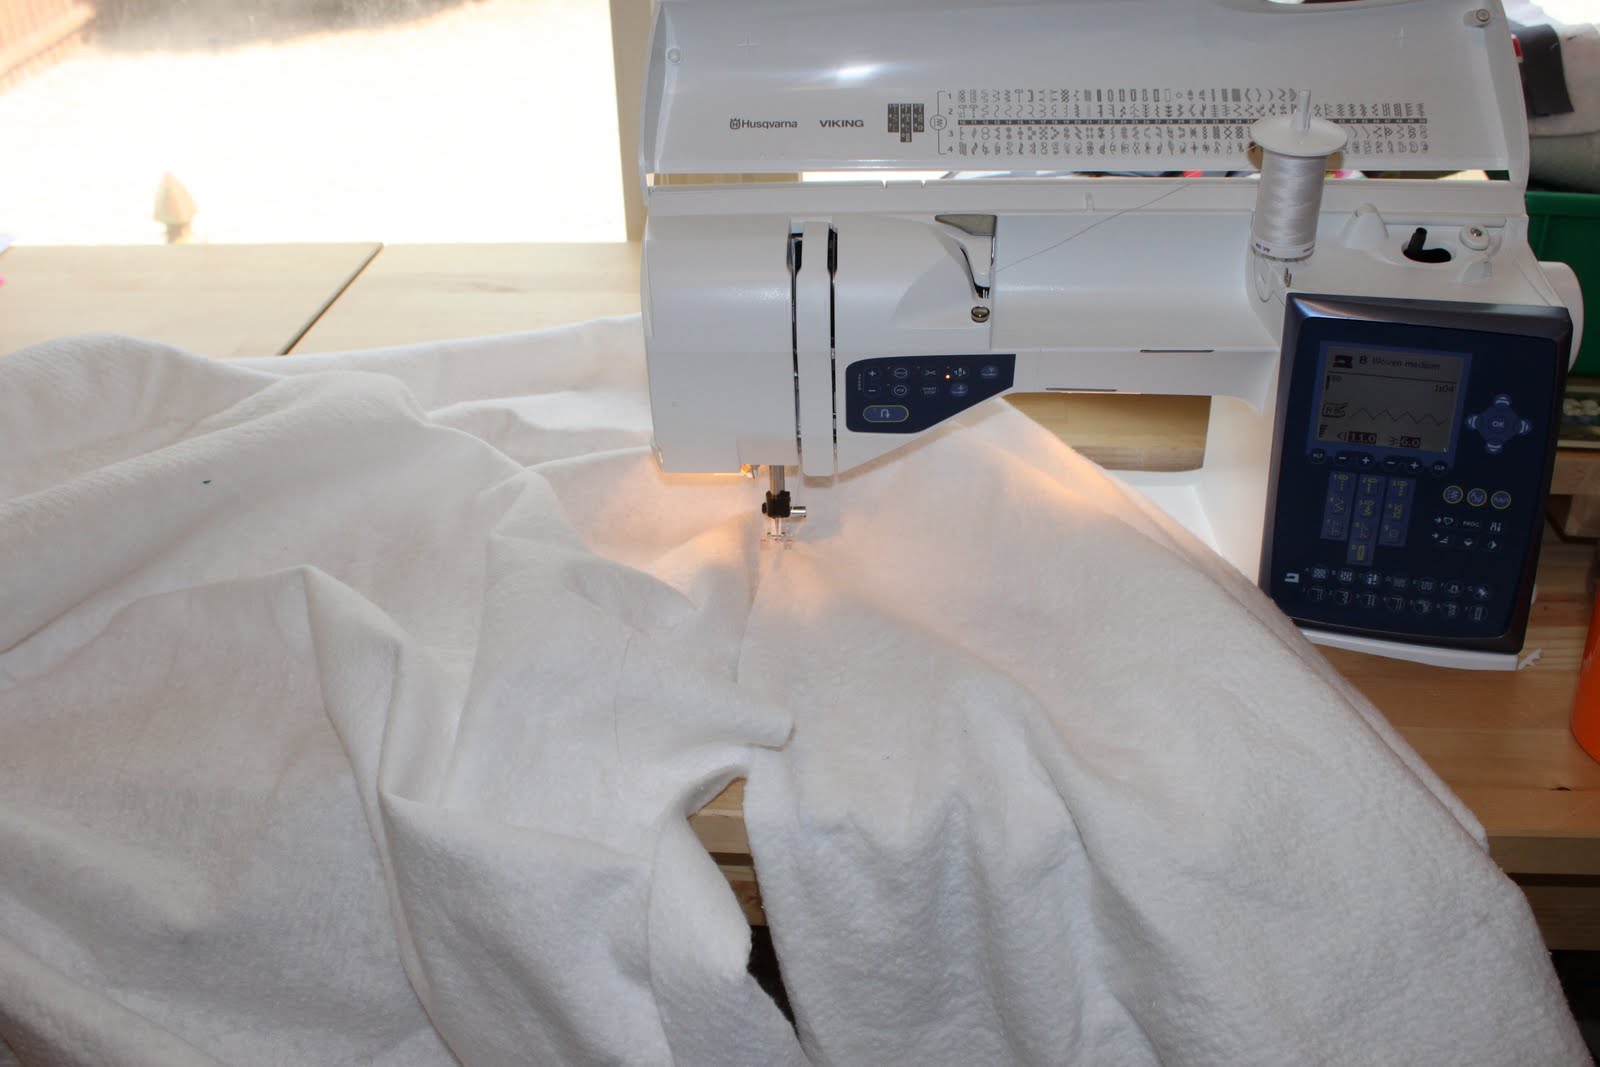
This is a bulky job. And, uh, by the way, don't wear black pants. I'm just sayin'...
So now you've lined up your two scraps side-by-side (not overlapping at all) on the bed of your machine. Start about 6-8" down from the top. It's too hard to start at the top because the weight is pulling it wonky.


I used a simple, clear presser foot so I could see what was happening. As you feed the batting into the presser foot, Make sure the edges are butting-up against each other but not overlapping. Stop every once in a while or go slowly to make sure you don't start overlapping.

When you get to the end of your seam, clip your threads and go back to the beginning of your seam. Turn the batting around so you can join those 6-8" to finish it off. Now admire your handy-work:

Go ahead and chuck it in your quilt. No one will ever know!


FYI - The quilt being basted in the pics is now finished and will be featured on Moda Bake Shop on May 8th. If I can use this technique on a quilt that will be shown publicly, I know you can try it on yours ;-)
Good luck and let me know how it goes!
PS - Don't forget about the Longarm Quilting discount I'm offering on quilts I receive by May 31st! For more info click on the pig.




 Posts
Posts


